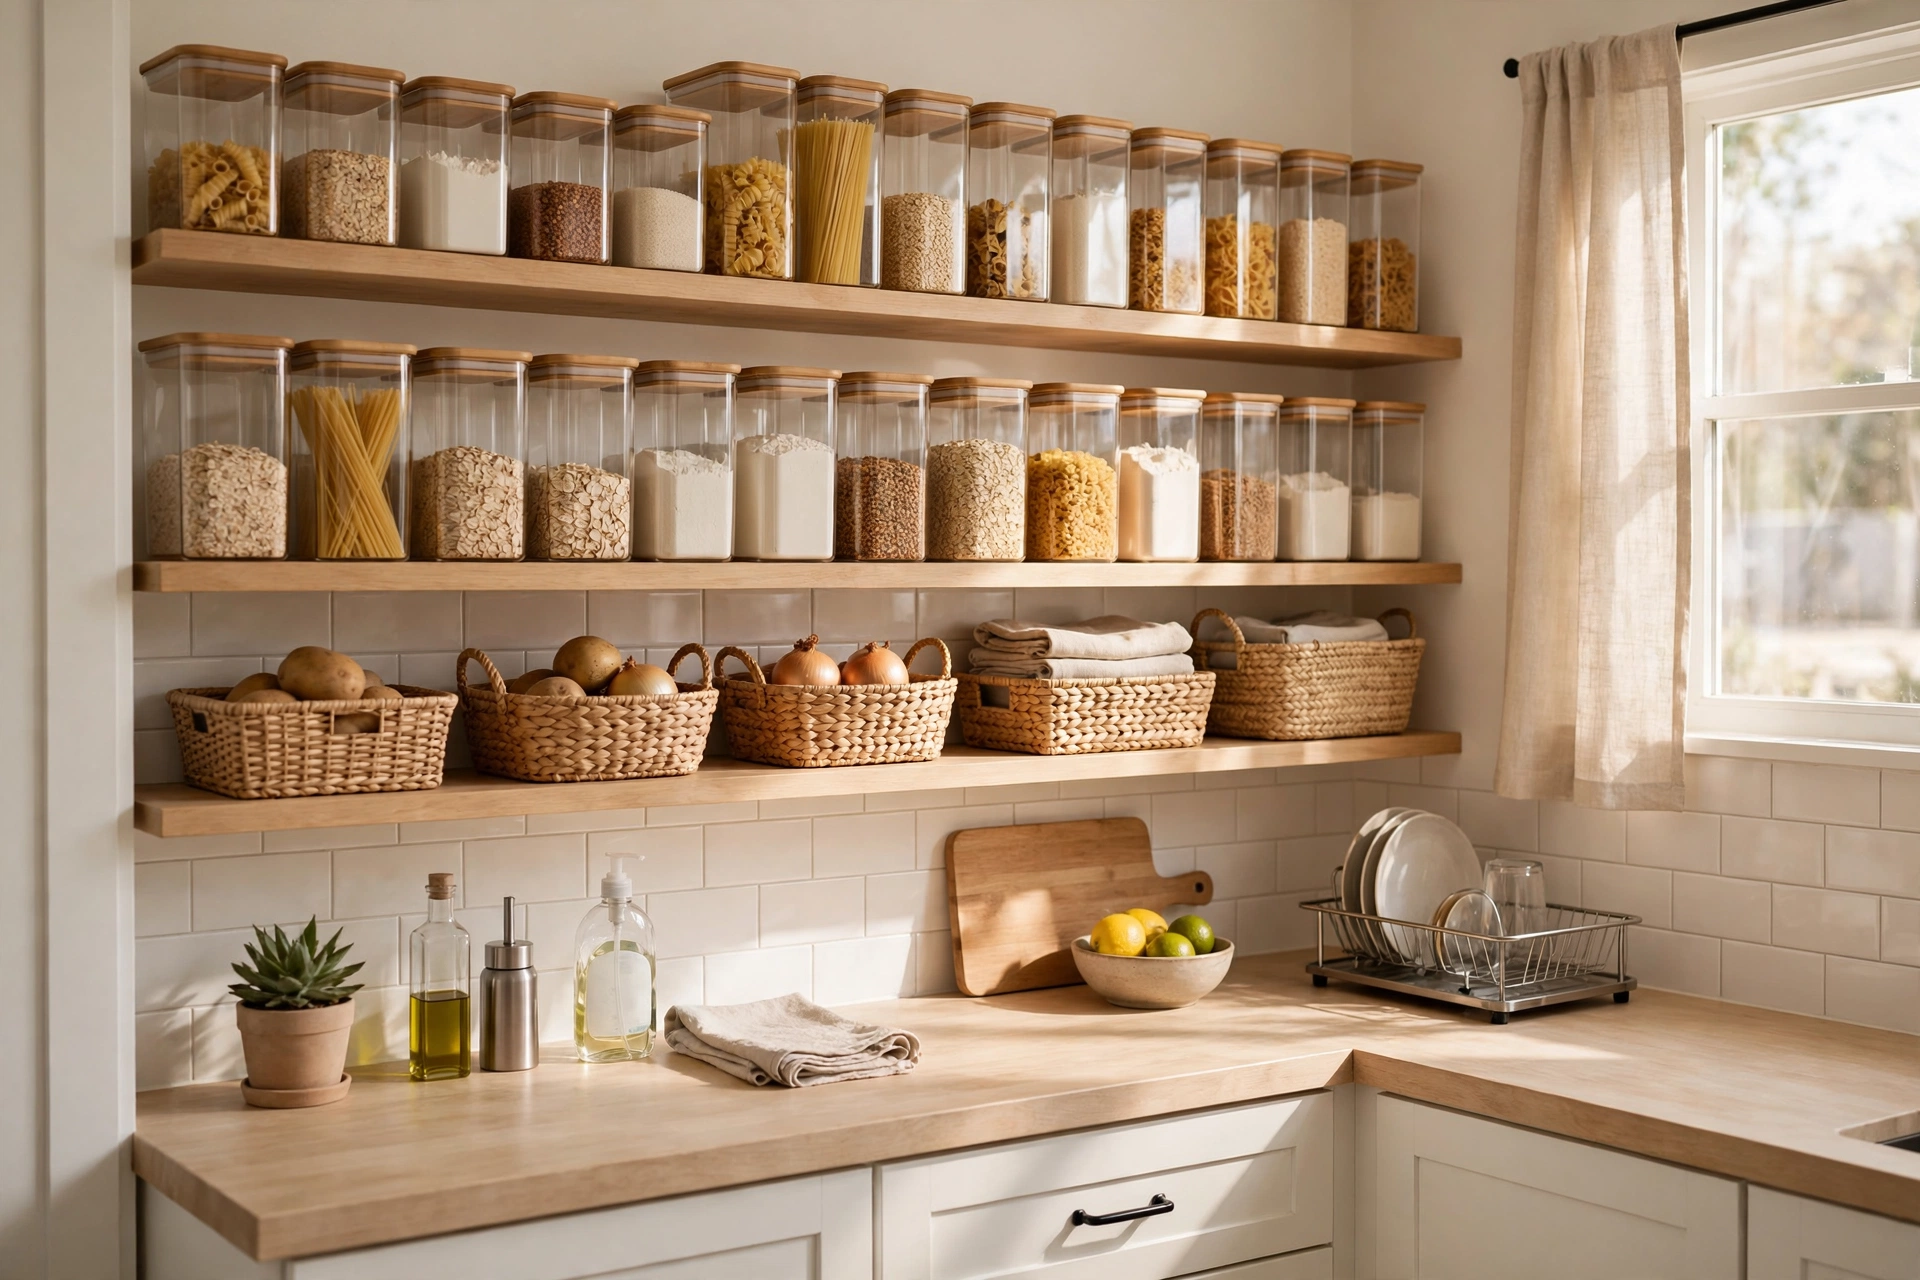
A well-organized kitchen saves time, cuts food waste, and makes cooking genuinely enjoyable — and it does not require a renovation budget. These budget kitchen organization ideas cost under $50 each, and most cost far less. They work in tiny rental kitchens as well as larger ones, and none of them require drilling or permanent changes. Each idea below explains exactly how to set it up and the common mistake to avoid, so your kitchen stays organized long after the initial tidy-up.
1. Decant Dry Goods into Uniform Clear Containers
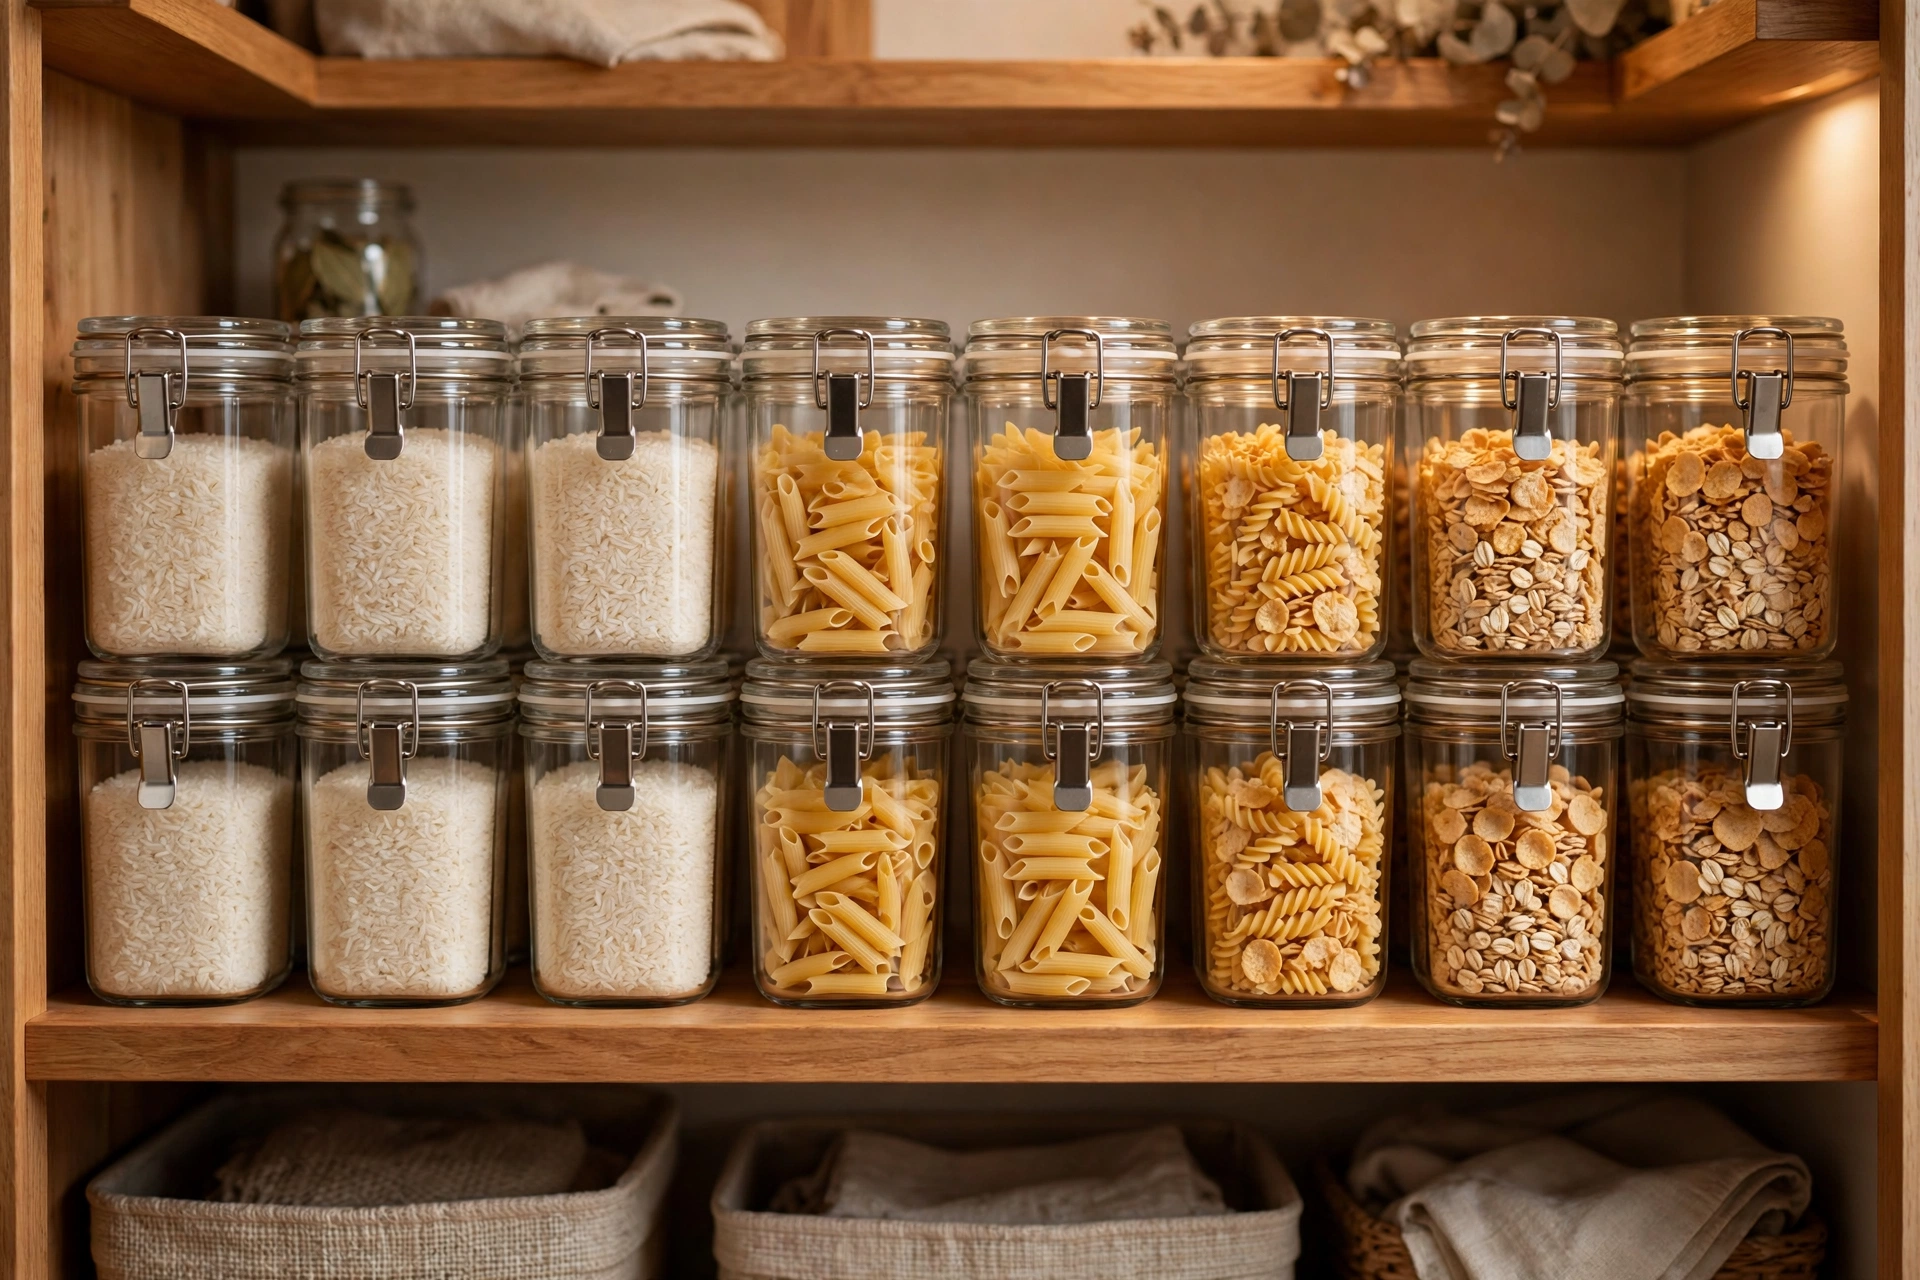
Mismatched bags and boxes waste shelf space and make it impossible to see what you have. Uniform airtight containers stack neatly and let you spot low supplies at a glance.
How to do it: Buy a set of stackable, airtight containers in two or three sizes and transfer flour, rice, pasta, cereal, and snacks into them. Keep the original cooking instructions by taping a cut-out label inside the lid, and follow USDA food safety guidance on storing dry goods in cool, dry places.
What to avoid: Avoid decanting everything at once before you know which sizes you actually use — start with your five most-used staples. Do not choose containers that are not truly airtight; stale cereal is not a bargain.
2. Add Shelf Risers Inside Cabinets
Cabinets waste the vertical space between shelves. Inexpensive wire or bamboo risers create a second level, effectively doubling your storage in the same footprint.
How to do it: Place one riser per cabinet shelf for plates, bowls, or mugs, keeping daily items on the lower level and occasional ones up top. Measure your shelf height first so the riser plus stacked items actually fit.
What to avoid: Avoid stacking fragile items on risers in cabinets you open roughly — they can slide. Do not buy risers wider than your cabinet opening; measure the door, not just the shelf.
3. Install a Lazy Susan in Deep Corners
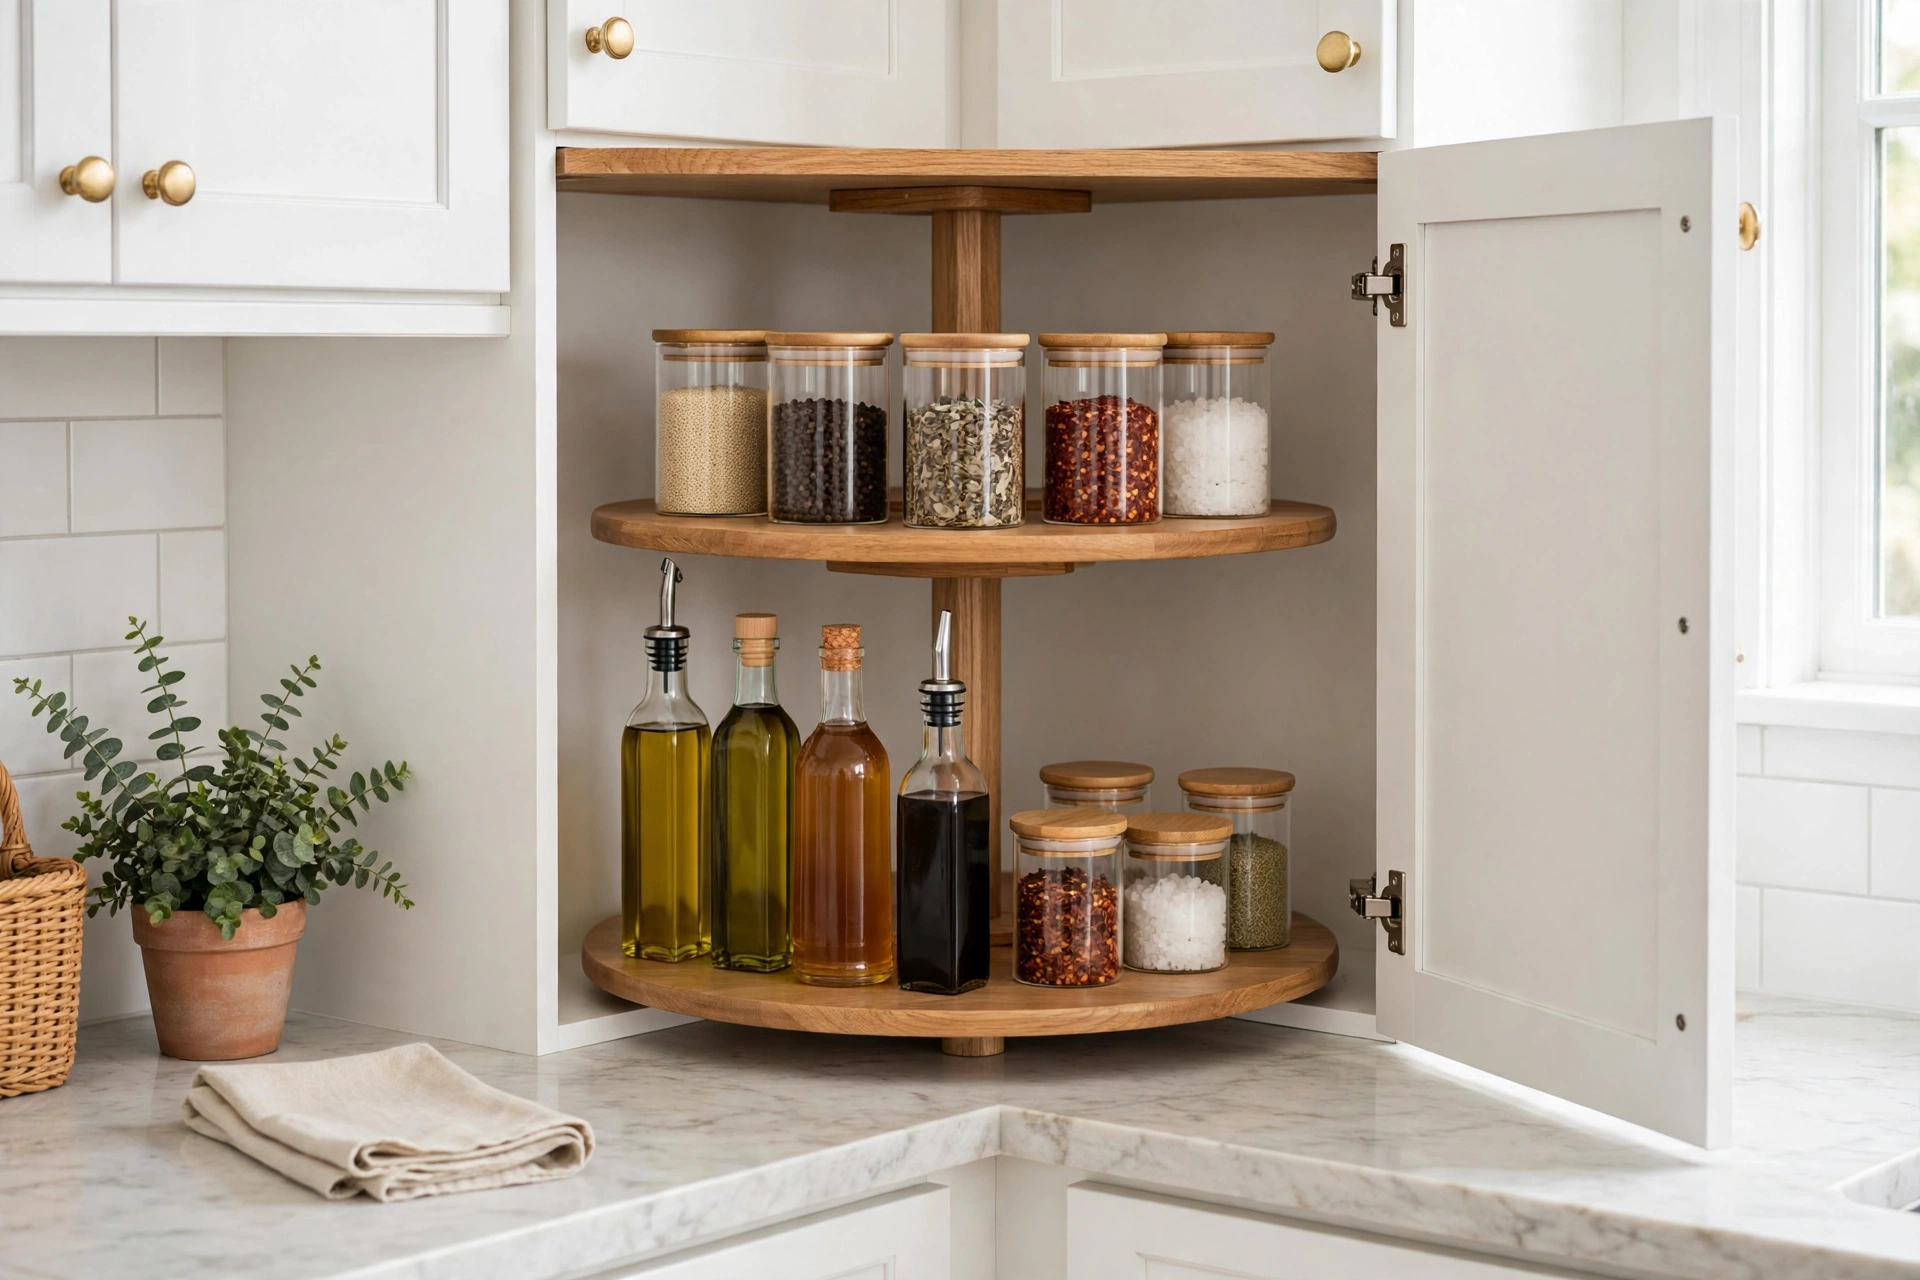
Deep corner cabinets are where oils, vinegars, and spices go to be forgotten. A turntable brings everything to the front with one spin.
How to do it: Set a two-tier lazy Susan in each deep cabinet and group similar items together — cooking oils on one level, condiments on another. A non-slip liner underneath keeps it from wandering.
What to avoid: Avoid overloading the turntable until it barely spins; leave breathing room around the edge. Skip turntables with low rims for tall bottles — they tip over when you spin fast.
4. Hang Utensils on a Wall Rail or Pegboard
Utensil drawers become tangled messes. Moving everyday tools onto a wall-mounted rail or pegboard frees drawer space and keeps tools within arm’s reach of the stove.
How to do it: Mount a stainless rail with S-hooks on the backsplash area or the side of a cabinet, and hang only the tools you use weekly — spatulas, tongs, ladles. In rentals, use high-strength adhesive hooks rated for kitchen heat and humidity.
What to avoid: Avoid hanging every gadget you own; a crowded rail looks chaotic and tools knock together. Do not hang heavy cast-iron pieces on adhesive hooks — save those for cabinet storage.
5. Use the Inside of Cabinet Doors
Cabinet door interiors are wasted space in most kitchens. Slim over-the-door or adhesive-mounted racks turn them into spice and wrap storage.
How to do it: Mount a narrow spice rack on the inside of the door nearest your prep area, and a wrap organizer (foil, cling film, parchment) on another. Keep items slim — anything deeper than about 2 inches can stop the door closing.
What to avoid: Avoid mounting racks on doors that hold plumbing or have warped panels — check the door closes fully after installation. Do not store heavy glass spice jars on adhesive-mounted racks; use small plastic or lightweight jars there.
6. Divide Every Drawer with Organizers
Undivided drawers become junk drawers. Adjustable dividers or bamboo trays give every utensil, lid, and gadget a defined slot so the drawer stays tidy with zero effort.
How to do it: Empty each drawer completely, discard duplicates and broken tools, then fit expandable dividers or a compartment tray. Assign zones: cooking tools near the stove, prep tools near the cutting board.
What to avoid: Avoid buying organizers before decluttering — you will just organize clutter. Skip fixed-compartment trays that do not fit your specific tools; adjustable dividers adapt to what you actually own.
7. Corral the Fridge with Stackable Bins
Fridges stay cleaner and food stays visible when items live in clear stackable bins instead of sliding around loose on shelves.
How to do it: Dedicate one bin per category — dairy, condiments, snacks, leftovers — and stack them on fridge shelves. Label the bins so everyone in the household returns items to the right place. Leave space around bins for air circulation, which keeps the fridge running efficiently (see ENERGY STAR refrigerator tips).
What to avoid: Avoid cramming bins so tightly that cold air cannot circulate — an overpacked fridge works harder and cools unevenly. Do not use bins without handles; you will need to slide the whole bin out regularly.
8. Tame the Under-Sink Cabinet
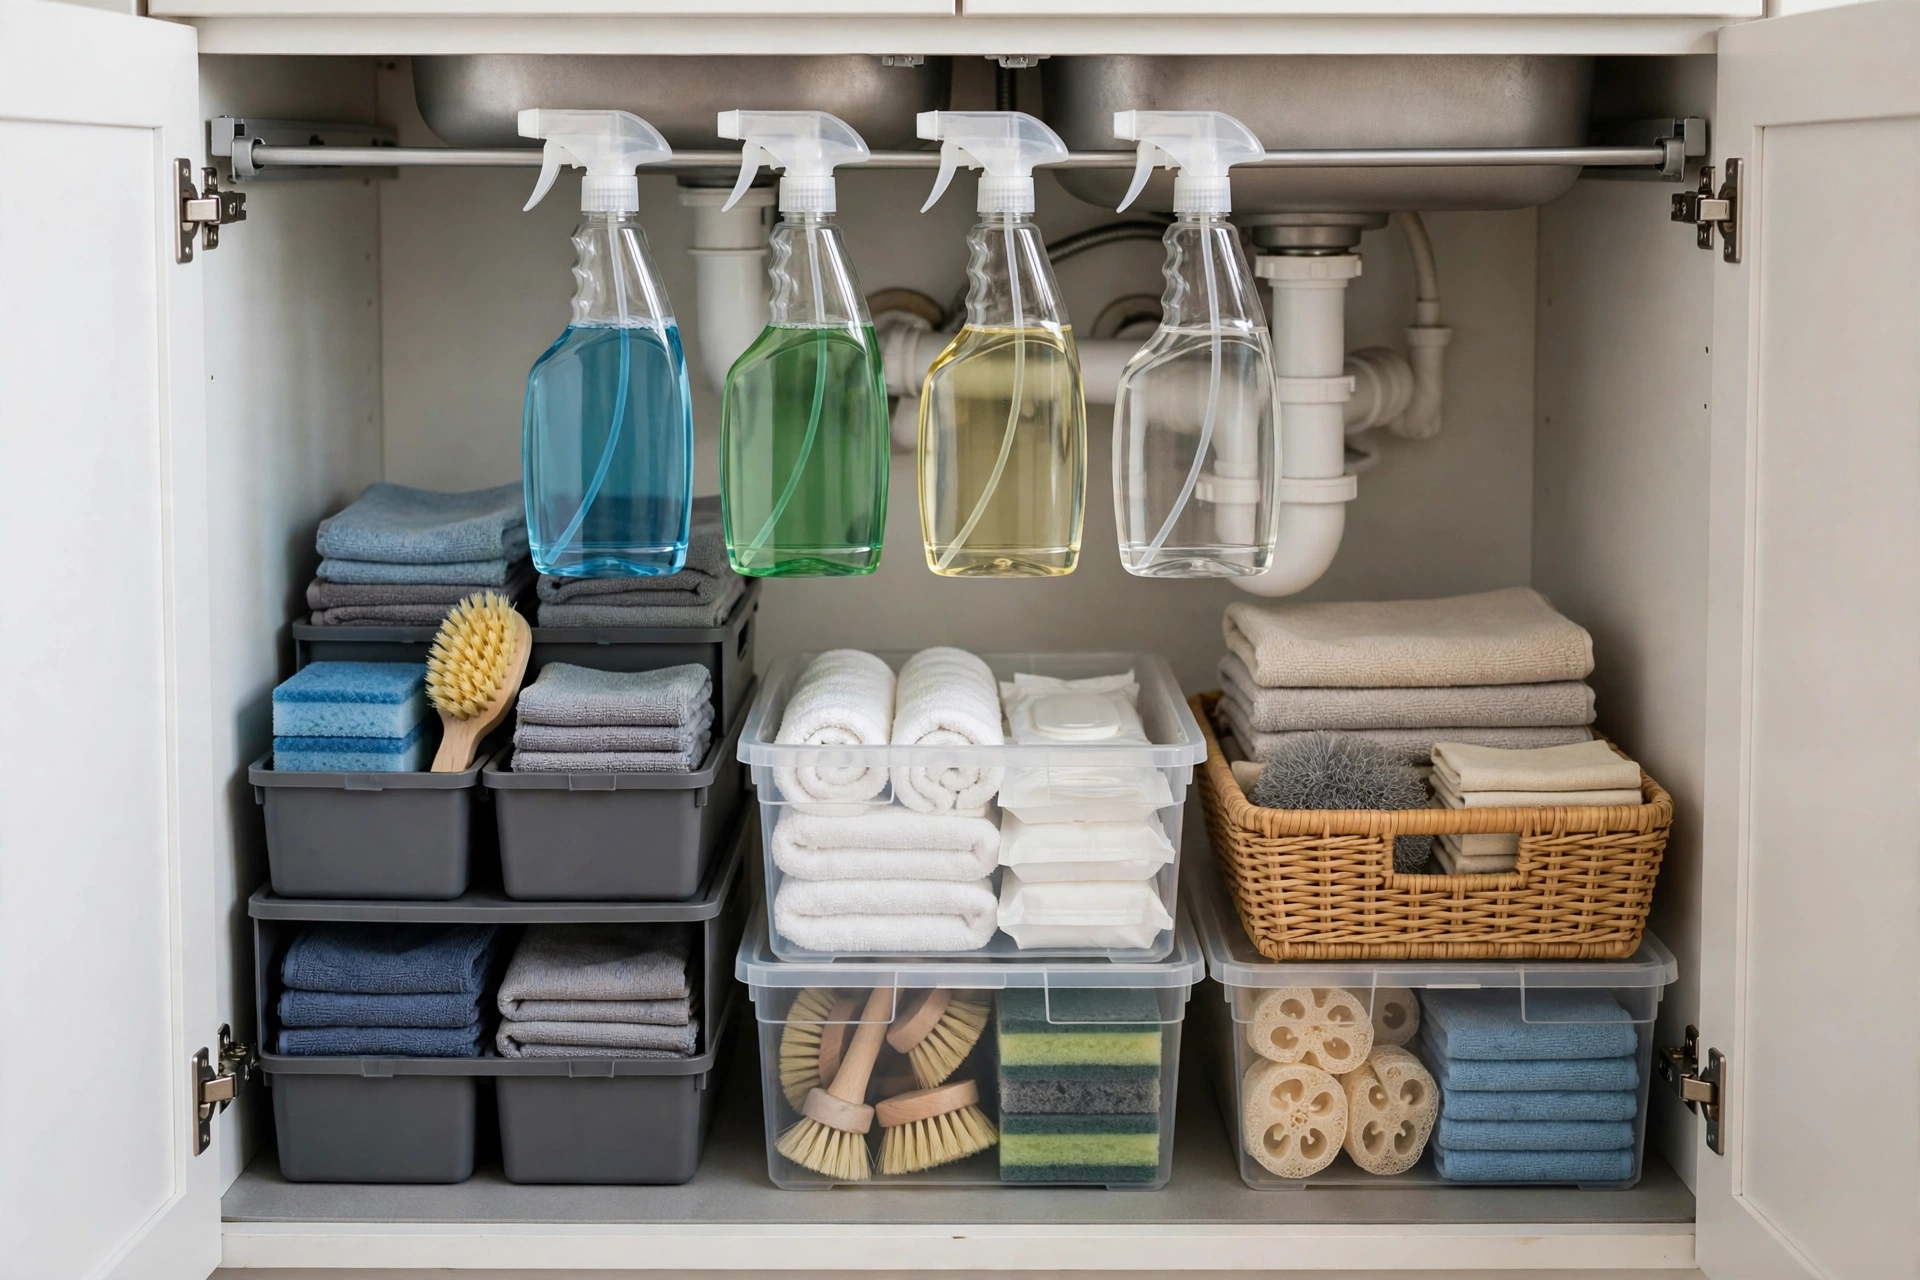
The cabinet under the sink is usually a chaotic pile of cleaners around the pipes. A tension rod and a couple of stackable caddies turn it into genuinely useful storage.
How to do it: Install a small tension rod across the cabinet to hang spray bottles by their triggers, then place a two-tier caddy or stackable bins below for sponges, brushes, and trash bags. A washable mat on the cabinet floor protects against drips — a washable, easy-clean runner works well in front of the sink too.
What to avoid: Avoid storing anything you use daily under the sink — it is prime real estate for cleaning supplies only. Check for leaks before organizing; a slow drip will ruin your new system.
9. Free Counter Space with a Magnetic Knife Strip
Knife blocks and knife drawers eat counter and drawer space. A wall-mounted magnetic strip keeps knives visible, accessible, and safely out of drawers.
How to do it: Mount the strip on the wall near your main prep area at a height that keeps blades above curious hands. Wipe knives dry before placing them so moisture does not collect on the magnet.
What to avoid: Avoid mounting it directly above the stove where heat and grease collect. In homes with small children, mount it high and out of reach, or skip this idea in favor of an in-drawer knife dock.
10. Create a Daily “Landing Zone” Tray
Keys, mail, and random pocket items migrate to kitchen counters. One attractive tray near the entrance of the kitchen gives them a home and stops the spread.
How to do it: Place a shallow tray or small basket on the least-used stretch of counter and declare it the landing zone for keys, sunglasses, and mail. Sort its contents once a week so it does not become a second junk drawer.
What to avoid: Avoid making the tray too large — a big tray invites big piles. Do not place it next to your main prep area, where cooking will bury it under ingredients.
Where to Start: A Simple 3-Day Plan
If the full list feels like a lot, start small. On day one, declutter one drawer and add dividers — the visible win builds momentum. On day two, decant your five most-used dry goods into uniform containers and add a shelf riser to your most crowded cabinet. On day three, tackle the under-sink cabinet with a tension rod and caddy, then set up your landing-zone tray. Three days, under $50 total, and the kitchen already feels like a different room. From there, add the remaining ideas one at a time as budget and energy allow; each one is designed to work on its own, so there is no wrong order.
Frequently Asked Questions
How do I organize a small kitchen on a budget?
Start by decluttering — removing what you do not use costs nothing and frees the most space. Then add vertical storage (shelf risers, door racks) and drawer dividers, which are among the cheapest upgrades. Tackle one cabinet or drawer per day so the project never feels overwhelming.
What are the best containers for pantry organization?
Clear, airtight, stackable containers in two or three sizes cover most needs. Square and rectangular shapes waste less shelf space than round ones. Look for BPA-free plastic or glass with locking lids that genuinely seal.
How can I keep my pantry organized long-term?
Decant only staples you restock regularly, label everything, and do a quick five-minute reset each week when you unpack groceries. A “use first” bin for items nearing expiry cuts food waste and keeps shelves honest.
Are these kitchen organization ideas renter-friendly?
Yes. Every idea here avoids drilling and permanent changes: tension rods, adhesive hooks, over-the-door racks, and freestanding bins all come out cleanly when you move. If your lease is strict, choose adhesive products rated as removable.
How often should I declutter my kitchen?
Do a quick pass monthly — expired spices, chipped mugs, duplicate tools — and a deeper review twice a year. Small, regular edits keep the kitchen organized with far less effort than one annual marathon, and the system pairs well with an organized, calm living room in open-plan homes.
Sources
- U.S. Food & Drug Administration / FoodSafety.gov — safe food storage guidance
- ENERGY STAR — refrigerator efficiency and energy-saving tips