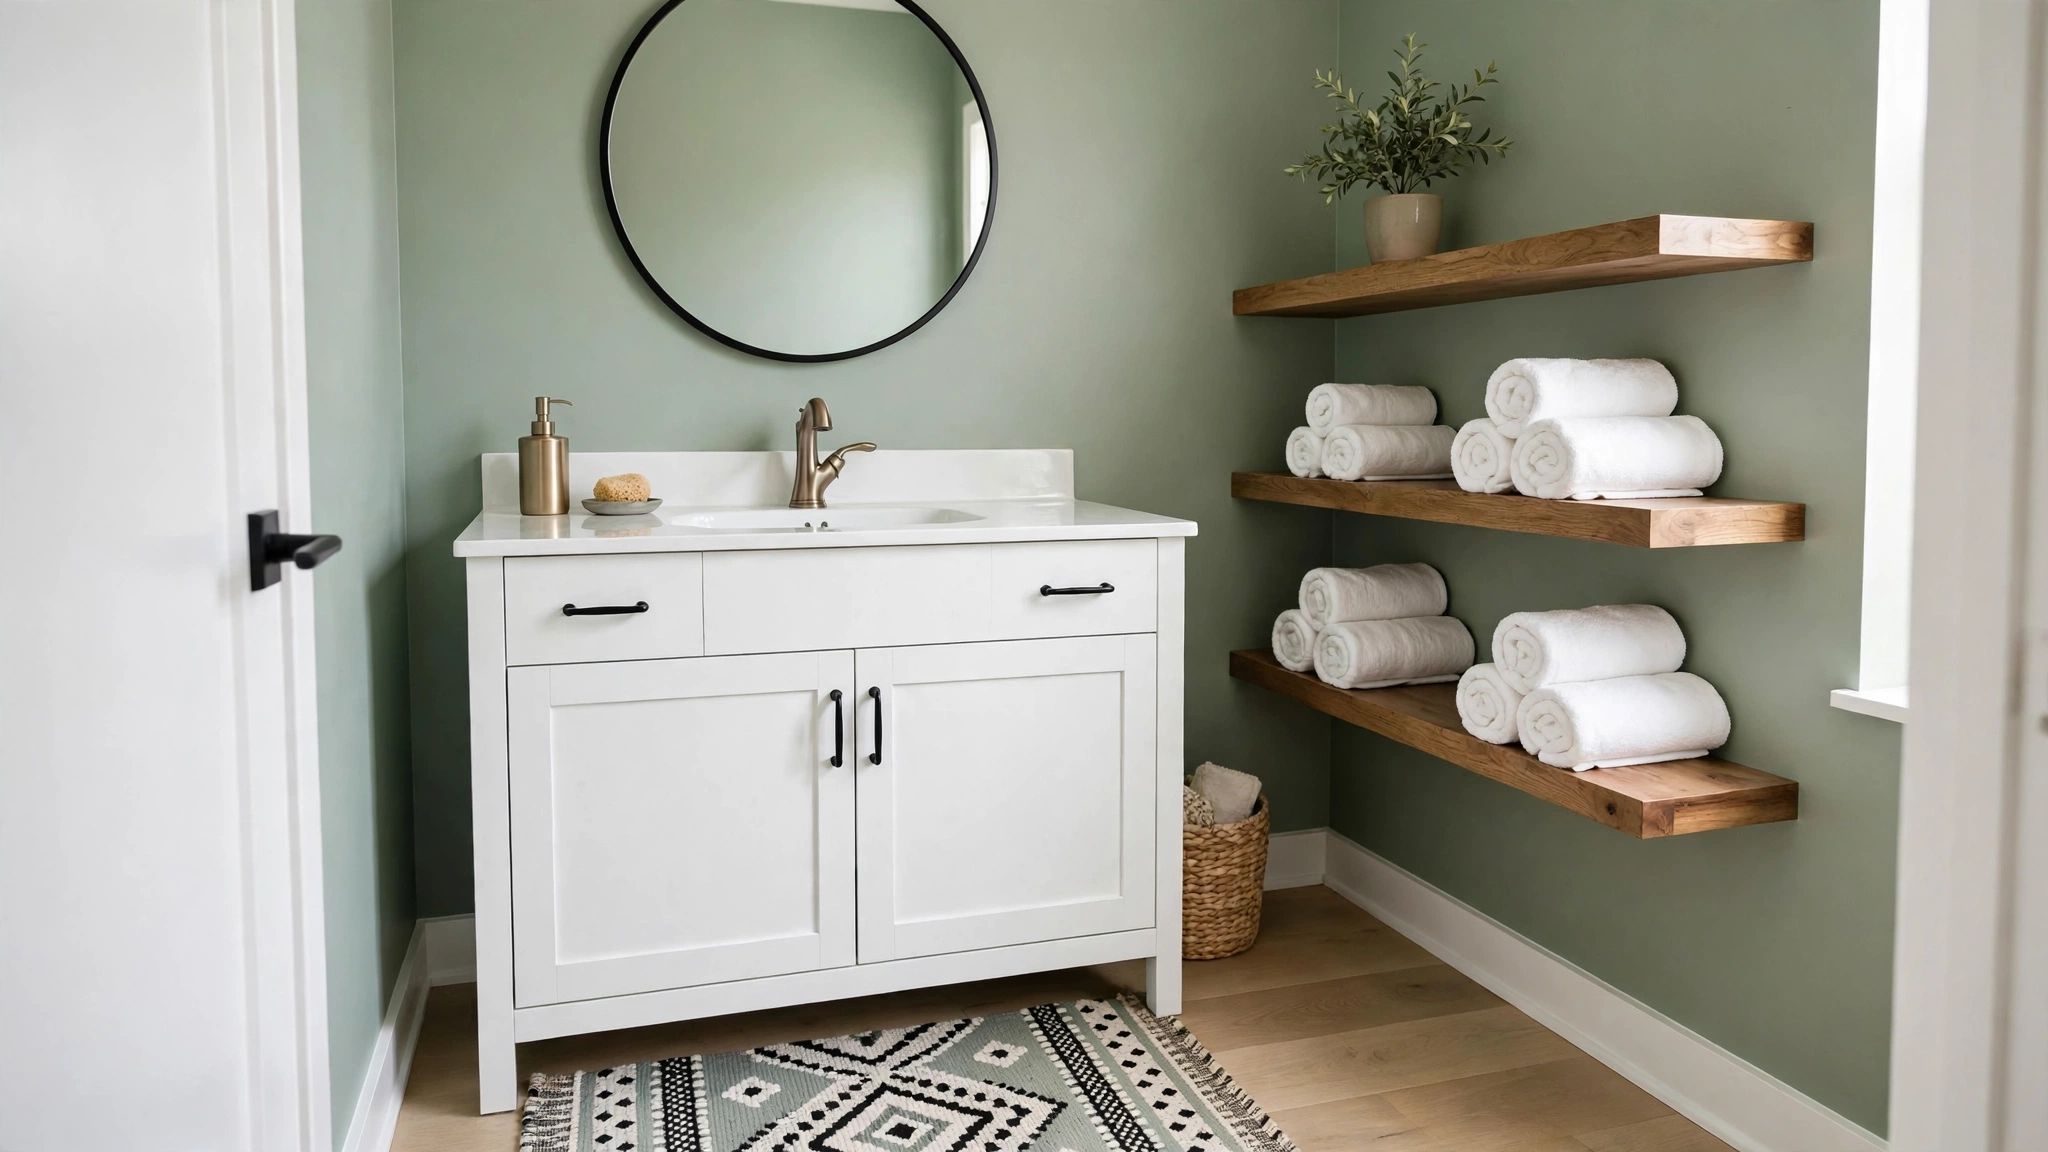
A bathroom makeover does not have to mean a gut renovation. The right budget bathroom makeover ideas can take a dated, builder-grade bathroom from tired to tailored for a few hundred dollars. The trick is spending where the eye lands first — mirror, lighting, hardware, walls — and styling the rest with intention. The twelve ideas below are renter-friendly where possible and genuinely affordable, and each one includes how to do it plus what to avoid.
1. Paint the Walls: The Highest-Impact of These Budget Bathroom Makeover Ideas
Paint is the cheapest transformation in any room, and bathrooms are small — often a single gallon covers everything. A sophisticated color instantly erases the flat, rental-white look that makes bathrooms feel cheap.
How to do it: Choose a moisture-resistant paint (look for “bath” or “kitchen & bath” formulas) in a soft, complex neutral — warm greige, muted sage, dusty blue, or a deep moody green for drama. In a small bathroom, paint the ceiling the same color to make it feel taller.
What to avoid: Avoid standard flat wall paint in a bathroom — steam will damage it. Skip ultra-trendy colors you will tire of in a year; bathrooms are annoying to repaint because of all the fixtures to work around.
2. Swap the Cabinet Hardware
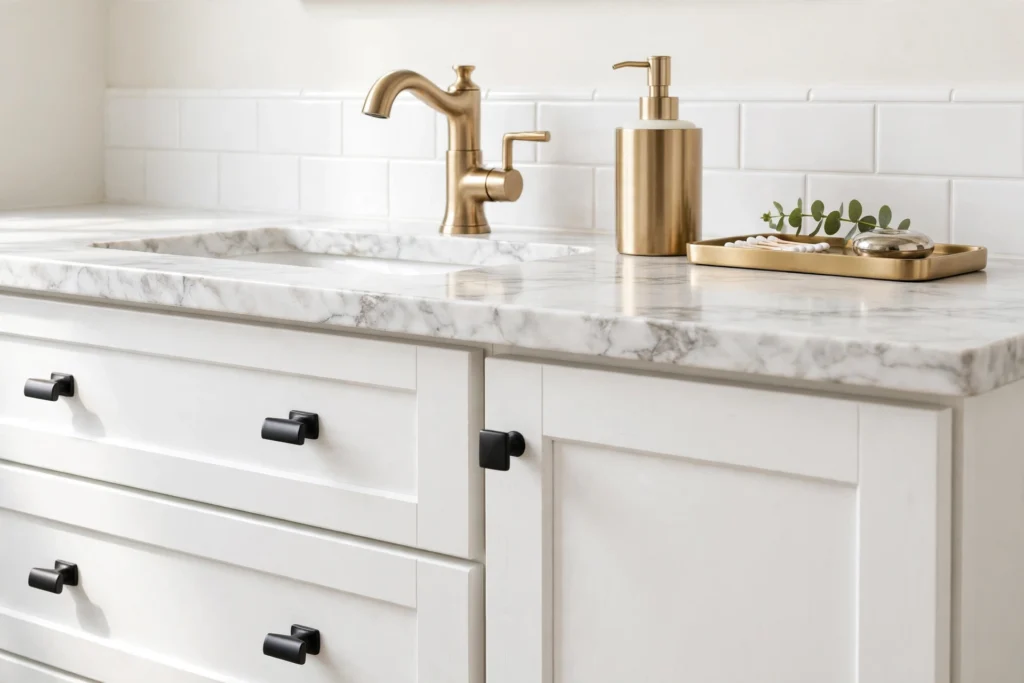
Builder-grade bathrooms almost always come with the cheapest possible knobs and pulls. Replacing them is a 30-minute job that makes the vanity look custom — one of the highest-ROI budget bathroom makeover ideas there is.
How to do it: Measure the existing hole spacing (usually 3 or 3.75 inches) and buy matching-spaced pulls so you do not have to drill new holes. Matte black, brushed brass, and brushed nickel all read as upgrades; pick one finish and use it on every cabinet and drawer in the room.
What to avoid: Avoid mixing three different metal finishes in one small bathroom — it looks accidental, not eclectic. Do not buy pulls without measuring; mismatched hole spacing turns a 30-minute job into a patching-and-drilling project.
3. Frame or Replace the Flat Builder Mirror
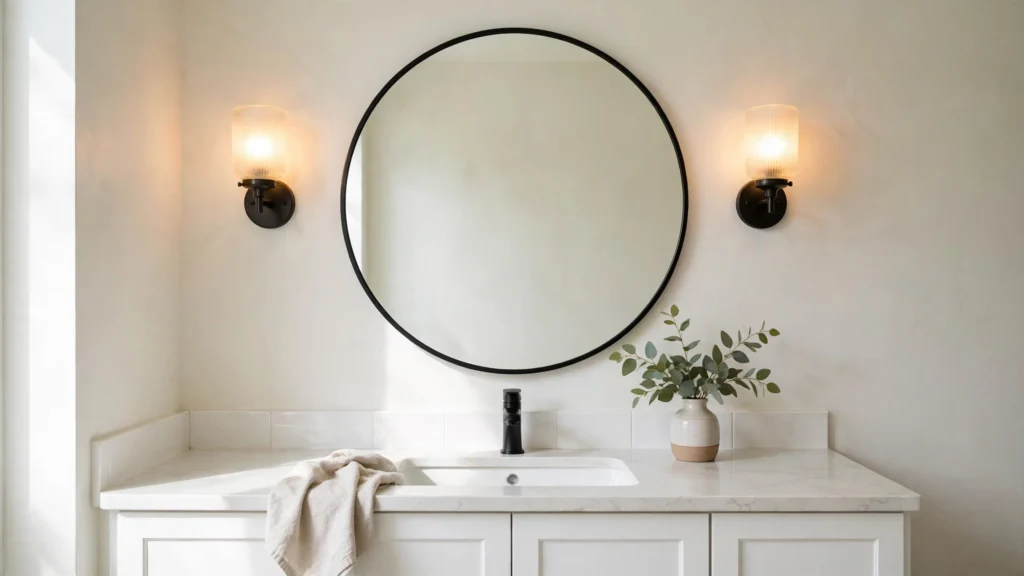
That frameless sheet mirror glued to the wall is the clearest signal of a builder-grade bathroom. Framing it changes the whole character of the room.
How to do it: Buy an inexpensive mirror frame kit (it adheres directly over the existing mirror’s edges), or remove the flat mirror and hang two round or arched mirrors over a double vanity. Round mirrors soften all the hard rectangles in a bathroom.
What to avoid: Avoid a mirror that is wider than the vanity below it — it looks top-heavy. Do not hang the mirror so high that shorter household members only see their foreheads.
4. Lay Peel-and-Stick Floor Tile
If your bathroom floor is the worst thing about the room, peel-and-stick vinyl tile is the budget answer. Modern versions are thick and genuinely water-resistant — and they go straight over most existing floors.
How to do it: Start with a scrupulously clean, dry floor, plan your layout from the center outward, and use a sharp utility knife for cuts around the toilet base. Seal the edges with silicone caulk where the floor meets the tub and walls.
What to avoid: Avoid installing over loose, damaged, or very uneven tile — the new tiles will telegraph every bump. Do not skip the caulked edges; standing water seeping under the tiles is what causes these floors to fail.
5. Upgrade to a Fabric Shower Curtain
A plastic liner masquerading as a curtain screams “budget” — but a real fabric shower curtain (with a separate liner behind it) looks like a design choice and costs very little.
How to do it: Hang the rod as high as possible and choose a curtain long enough to just brush the tub edge — extra length looks luxurious. Use a washable fabric curtain with a separate mildew-resistant liner so the pretty layer never touches water.
What to avoid: Avoid curtains that stop several inches above the tub — the gap looks unfinished and lets water escape. Skip dark, heavy fabrics in a small windowless bathroom; a light linen-look curtain keeps things airy.
6. Change the Light Fixtures (or Just the Shades)
Bathroom lighting is usually the cheapest fixture the builder could find. A new vanity light — or even just new shades on the existing one — makes the room feel designed and flatters faces far better than bare bulbs.
How to do it: Swap in a simple two- or three-light vanity bar in your chosen metal finish, or keep the existing fixture and replace dated shades with clean frosted-glass ones. Use warm-white bulbs (2700–3000K). If the swap involves wiring, turn off the breaker first — or call an electrician.
What to avoid: Avoid cool daylight bulbs in the bathroom — they cast unflattering shadows and make the room feel clinical. Do not install a fixture rated for dry locations only above a shower or tub; it must be damp- or wet-rated there.
7. Add Floating Shelves for Storage and Style
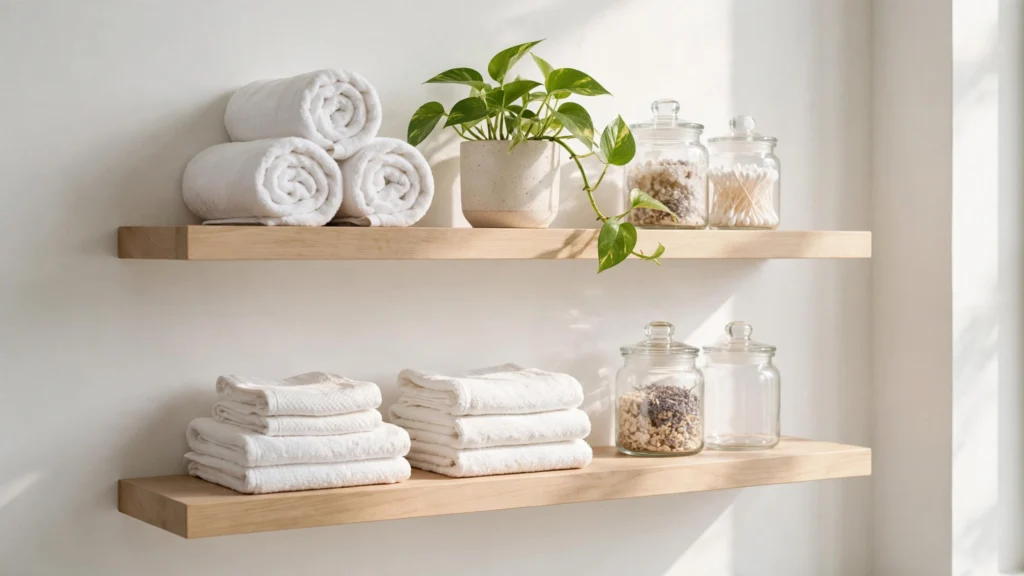
Blank wall space above the toilet or beside the vanity is free real estate. Two floating shelves hold rolled towels, a plant, and pretty storage — turning dead space into the most styled part of the room.
How to do it: Mount shelves into studs (or use proper wall anchors), and style them with a mix of useful and beautiful: rolled hand towels, a small plant, a lidded jar of cotton balls, one decorative object. Keep the palette tight — white towels and one accent color look spa-like. For more on styling small spaces on a budget, see our budget kitchen organization ideas, which use the same corral-and-contain system.
What to avoid: Avoid cramming shelves with every product you own — visible clutter reads as mess, not style. Do not hang shelves where they will be splashed constantly; steam and water spots will age them fast.
8. Install a Budget-Friendly New Faucet
The faucet is the jewelry of the bathroom. A dated, spotty faucet drags down even a nice vanity, while a clean modern one in a current finish can make the whole sink area look renovated.
How to do it: Match the new faucet to your existing hole configuration (centerset vs. widespread) to avoid countertop surgery, and choose a WaterSense-labeled model — the EPA’s WaterSense program certifies faucets that use at least 20% less water, which also trims the water bill.
What to avoid: Avoid the absolute cheapest faucets — flimsy internals leak within a year and cost more in the long run. Do not mix a new chrome faucet with old brass hardware elsewhere; commit to one finish across the room.
9. Decant Toiletries into Matching Dispensers
Nothing cheapens a bathroom faster than a crowd of mismatched plastic bottles. Decanting soap, lotion, and shampoo into a matching set of dispensers is a ten-minute styling trick with hotel-bathroom results.
How to do it: Buy a coordinated dispenser set (soap + lotion for the sink, large pump bottles for the shower) in glass, ceramic, or matte stoneware. Group them on a small tray with a folded hand towel for a finished vignette.
What to avoid: Avoid decanting products you cannot identify later — label anything that is not obvious, especially in a shared bathroom. Skip fussy dispensers with tiny openings that are hard to refill; you will abandon them.
10. Refresh Dingy Grout
Sometimes the tile is fine and the grout is the whole problem. Years of discolored grout make a bathroom look dirty no matter how clean it is — and refreshing it costs almost nothing.
How to do it: Deep-clean the grout first with a grout brush and an oxygen-bleach paste, let it dry fully, then apply a grout pen in the original color for a like-new look. Seal the grout afterward so it stays bright longer.
What to avoid: Avoid painting over grout that is crumbling or moldy underneath — fix the underlying problem first. Do not use harsh acids on natural stone tile; they etch the surface permanently.
11. Add Humidity-Loving Plants
Plants thrive in bathroom humidity and instantly make the space feel alive and cared for. A single green plant does more for a bathroom’s vibe than most accessories.
How to do it: Choose plants that love humidity and tolerate low light: pothos, ferns, spider plants, and peace lilies all do well. Hang one from the ceiling, perch one on the floating shelves, or place a tall one in an empty corner.
What to avoid: Avoid plants that need bright direct sun in a windowless bathroom — they will slowly die and look worse than no plant. Do not place pots where they will be constantly soaked; even humidity-lovers rot in standing water.
12. Layer In a Washable Rug-Style Bath Mat
The standard soggy bath mat is a missed opportunity. A washable, rug-style bath mat — flatweave, low pile, in a real pattern — makes the bathroom feel like a finished room instead of a utility space.
How to do it: Choose a machine-washable mat with a non-slip backing in a pattern that echoes your color scheme. Size it to run alongside the tub or in front of a double vanity. Wash it regularly — the whole point is that it is easy to keep fresh. Our small living room decor ideas post has more on choosing rug sizes and patterns that pull a room together.
What to avoid: Avoid thick shag mats that stay damp and develop mildew. Skip mats without proper backing on tile floors — a sliding mat is a safety hazard.
Frequently Asked Questions
How much does a budget bathroom makeover cost?
Most of the ideas in this guide cost $15–$80 each, so a full cosmetic makeover typically lands between $200 and $600. Paint, hardware, a new mirror, and a faucet deliver the most visible change per dollar.
Can I makeover a bathroom without replacing the tile?
Absolutely. Paint, new hardware, a framed or replaced mirror, updated lighting, and refreshed grout can completely change how existing tile reads. Peel-and-stick tile over the floor is the fallback if the floor tile itself is the problem — no demolition required.
What is the cheapest way to update a bathroom?
Start with what you can do for free: deep-clean everything including grout, declutter all surfaces, and decant toiletries into matching dispensers. Then spend on paint and cabinet hardware — together they usually cost under $100 and transform the room.
Is peel-and-stick tile durable in a bathroom?
Quality peel-and-stick vinyl tile is designed to handle bathroom moisture when installed correctly — on a clean, flat surface with sealed edges. It typically lasts 3–5 years in a bathroom, making it ideal for renters or anyone saving up for a full renovation later.
What colors make a small bathroom look bigger?
Light, soft colors — warm white, pale greige, soft blue-green — reflect light and blur boundaries, which makes small bathrooms feel larger. Painting the ceiling the same color as the walls removes the visual “lid” and adds to the effect. If you love dark colors, use them on the vanity rather than the walls.
Sources
- U.S. Environmental Protection Agency (EPA) WaterSense — water-efficient fixture guidance
- National Kitchen & Bath Association (NKBA) — bathroom design guidelines and trends